
前言

最近AI越来越强大了,想着可以让AI写一些求生之路2插件玩玩,正好之前写过一篇关于插件编写环境搭建的文章,这里来更新下。

本篇文章以Windows11系统为例,编辑器使用Visual Studio Code。

下载软件

sourcemod

插件的编译环境,目前最新已经到1.12 - build 7255了,下载Windows版本 -> 下载地址

下载Windows的版本

保留下载好的压缩包

VScode

源码编辑器,下载Windows版本 -> 下载地址

下载好后,执行下载的安装文件,选择对应的安装目录即可。
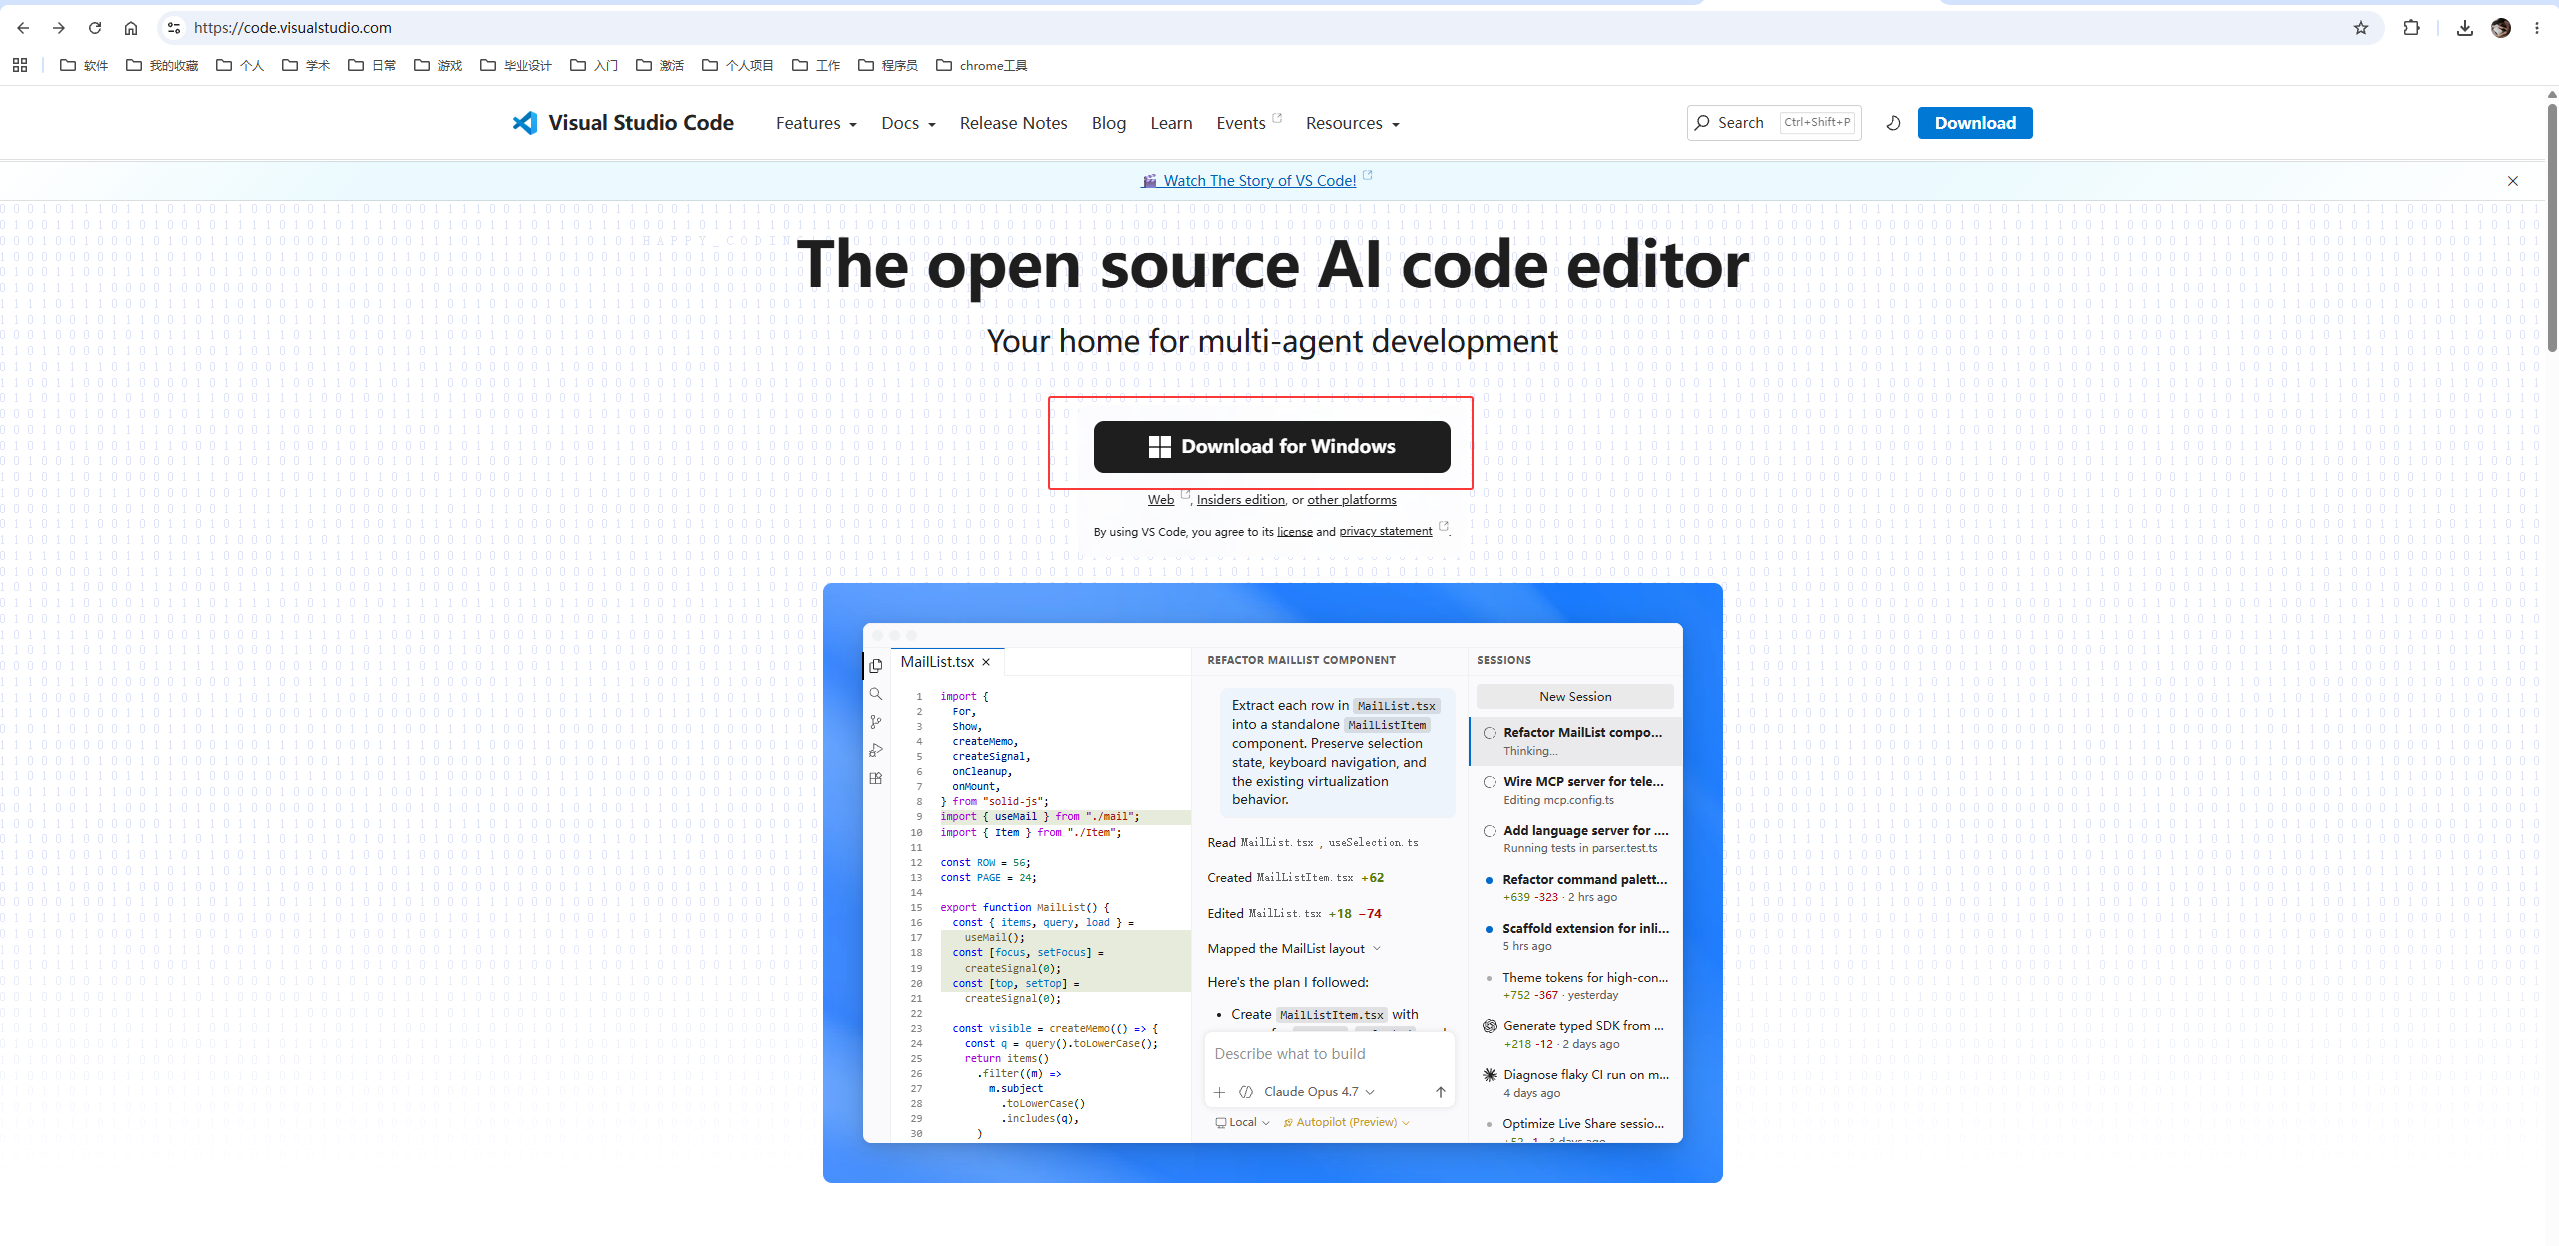
image-20261013170141783

环境配置

VScode插件

打开VScode安装几个插件,先安装Chinese简体中文插件,装好后进行重启

安装中文插件

因为SourceMod采用的语言是SourcePawn语言,类似于C语言,安装SourcePawn语言的支持,插件名SourcePawn Studio
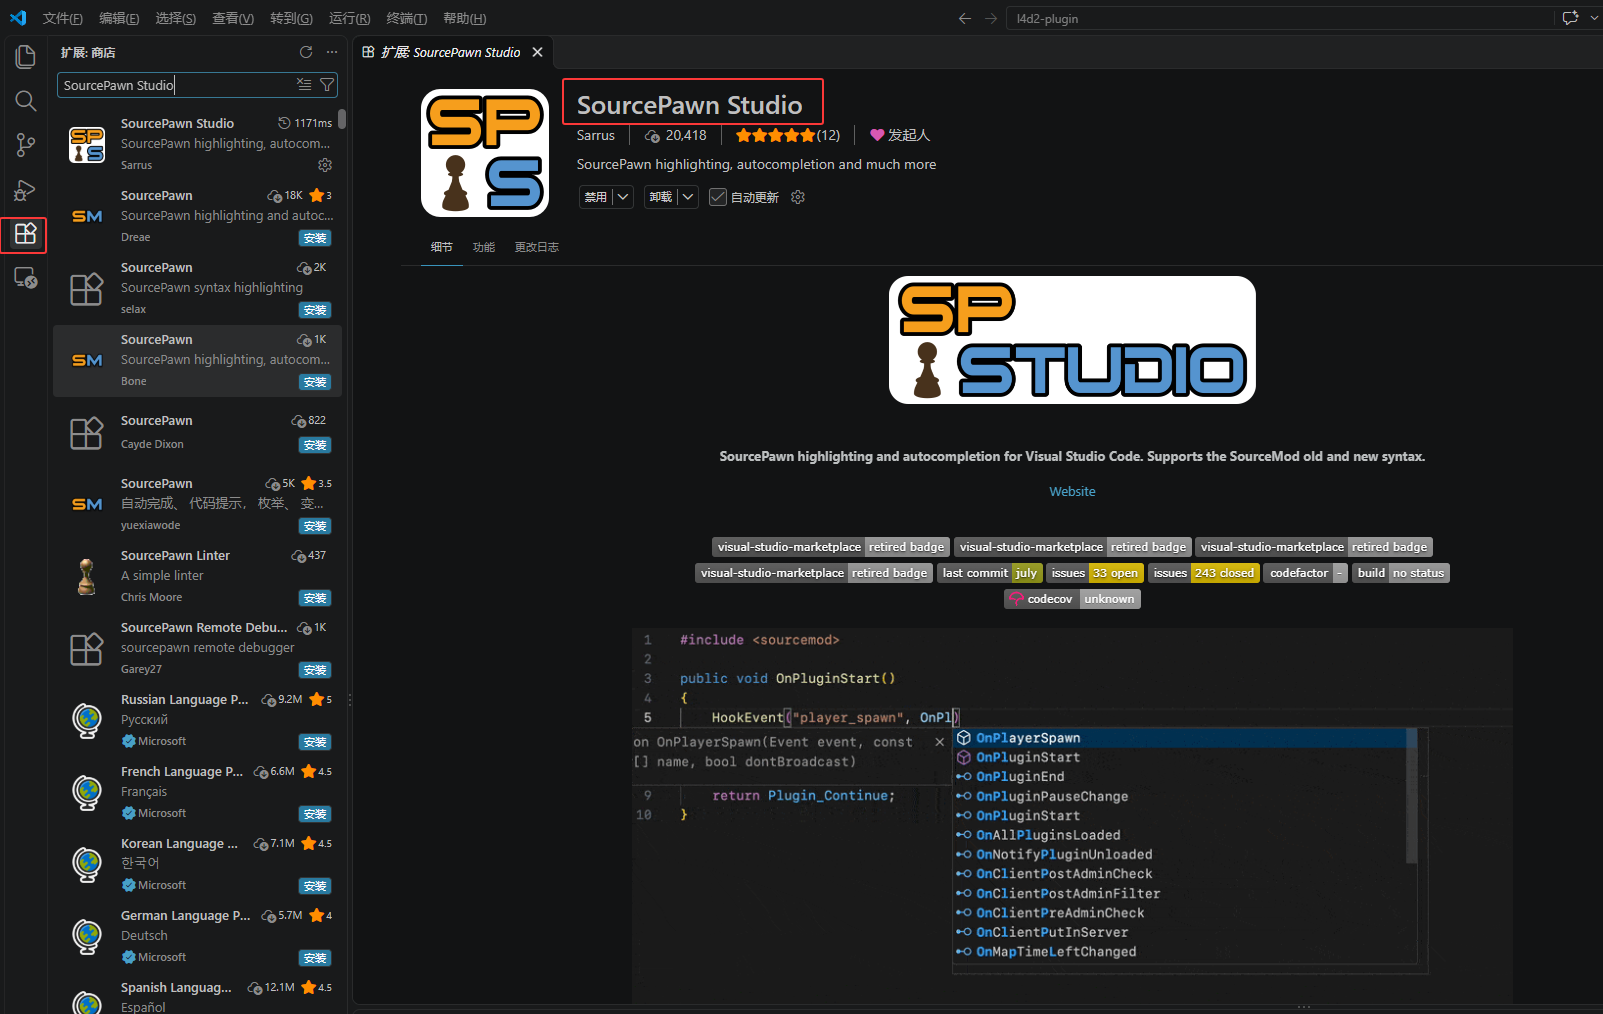
image-20261013170438369

安装All Autocomplete代码自动补全

安装All Autocomplete插件

编译环境

对于求生之路2插件的编写,我已经有了一个自己的文件结构体系,可以参考下我的VScode项目目录,项目地址->InsectMk/l4d2-plugin

将在sourcemod官网下载的压缩包解压,进入到addons\sourcemod\scripting目录,出现如下文件夹即文件,提取include文件夹与spcomp.exe、compile.exe可执行文件到一个新的文件夹,下文称l4d2-plugin目录。

需要复制的文件

在l4d2-plugin目录中放入上面复制的三个东西并参照下面的结构构建目录:

```text

l4d2-plugin/ ← 工作区根

│

├── spcomp.exe ← SourcePawn 编译器(所有插件共用)

├── compile.exe ← SourcePawn 的封装调用工具

│

├── include/ ← 官方头文件层(公共基础库)

│ ├── sourcemod.inc

│ └── …(其他 SourceMod 官方 .inc)

│

├── include-ext/ ← 跨插件共享的第三方 include(多个插件共用的库放这里)

│ ├── README.md ← 本目录使用说明

│ ├── multicolors.inc

│ ├── left4dhooks_silver.inc

│ └── …(按需添加)

│

├── plugins/ ← 编译产物(与服务器 addons/sourcemod/plugins/ 同名)

│ ├── plugin_hello.smx

│ ├── plugin_l4d.smx

│ └── plugin_admin.smx

│

├── source/ ← 插件源码根目录

│ │

│ ├── plugin_hello/ ← 插件 A:示例 / 学习插件

│ │ ├── hello.sp ← 主源码文件

│ │ └── include/ ← 插件私有头文件(只属于这个插件)

│ │ ├── multicolors.inc

│ │ └── multicolors/ ← 兼容某些库用子目录组织 include 的情况

│ │ ├── morecolors.inc

│ │ └── colors.inc

│ │

│ ├── plugin_l4d/ ← 插件 B:求生之路相关插件

│ │ ├── l4d_test.sp

│ │ └── include/

│ │ └── left4dhooks_silver.inc

│ │

│ └── plugin_admin/ ← 插件 C:管理 / 管理员相关插件

│ ├── admin.sp

│ └── include/

│ └── (按需添加)

├── gamedata / ← 插件所需gamedata目录

```

设置VScode的SourcePawn Studio插件,配置SourcePawn Studio编译设置。

你可以通过插件的设置进入图形化界面的编辑,这里直接通过JSON设置,在l4d2-plugin目录下新增.vscode/settings.json,写入并修改以下内容(关于服务器的配置可不设置):

1
2
3
4
5
6
7
8
9
10
11
12
13
14
15
16
17
18
19
20
21
22
23
24
25
26
27
28
29
30
31
32
33
34
35
36
37
38
39
40
41
42
43
44
45
46
47
48
49
50
51
52
53
54
55
56
57
58
59
60
61
62
63
64
65
66
67
68
69
70
71
72
73
74
75
76
77
78
79
80
81
82
83
84
85
86
87
88
89
90
91
92
93
94
95
96
97
98
99
100
101
102
103
104
105
106
107
{
// ============================================================
// L4D2 SourceMod 插件工作区 - VSCode 配置模板
// ------------------------------------------------------------
// 使用方式:
// 1. 复制本文件为 .vscode/settings.json
// 2. 把所有 "xxxx" 占位符替换为你本机/服务器的实际值
// 3. 切勿把真实的 settings.json 提交到 Git(已通过 .gitignore 排除)
//
// 本文件本身是脱敏后的模板,可以安全提交到仓库
// ============================================================

// 指定 SourcePawn 编译器(spcomp.exe)的位置,使用绝对路径
// ⚠️ 把路径中的 xxxx 替换为你的 Windows 用户名
"SourcePawnLanguageServer.compiler.path": "C:/Users/xxxx/Documents/Hub/l4d2-plugin/spcomp.exe",

// 额外的头文件搜索路径(数组形式,可以写多个)
// 比如你项目里自己写的或者第三方插件的 include 文件放在别的文件夹,就加在这里
// 编译时,默认会带入sp源码同目录下的 include 文件夹
// ⚠️ 把路径中的 xxxx 替换为你的 Windows 用户名
"SourcePawnLanguageServer.includeDirectories": [
"C:/Users/xxxx/Documents/Hub/l4d2-plugin/include",
"C:/Users/xxxx/Documents/Hub/l4d2-plugin/include-ext"
],

// 编译后的 .smx 插件文件输出到哪个文件夹
// 这里配置后,按 ctrl + shift + d 编译,生成的 .smx 就会自动放进 该 文件夹,使用绝对路径
// ⚠️ 把路径中的 xxxx 替换为你的 Windows 用户名
"sourcepawn.outputDirectoryPath": "C:/Users/xxxx/Documents/Hub/l4d2-plugin/plugins/",

// 游戏服务器连接配置(用于远程编译、热重载插件或 RCON 管理)
"sourcepawn.SourceServerOptions": {
// 服务器的域名或 IP 地址
// ⚠️ 替换为你的服务器地址
"host": "xxxx",

// 服务器的端口号
"port": 27015,

// 通信时使用的字符编码,一般保持 ascii 即可
"encoding": "ascii",

// 连接服务器的超时时间(单位:毫秒),1000 = 1秒
"timeout": 1000,

// ⚠️ 服务器 RCON 或连接密码(敏感信息,不要提交到 Git!)
// ⚠️ 替换为你的 RCON 密码
"password": "xxxx"
},
// 编译成功后是否自动把 .smx 上传到服务器(依赖下方 UploadOptions)
// true = 上传并触发 RCON 重载;false = 仅在本地生成 .smx,不上传
"sourcepawn.uploadToServerAfterCompile": false,
// SFTP/FTP 上传配置(当 uploadToServerAfterCompile = true 时生效)
// 上传时按本地目录结构镜像推送到 remoteRoot 下,所以 plugins/foo.smx 会上传到 <remoteRoot>/plugins/foo.smx
"sourcepawn.UploadOptions": {
// SFTP/FTP 服务器的域名或 IP(可与 SourceServerOptions.host 不同)
// ⚠️ 替换为你的服务器地址
"host": "xxxx",

// 端口:SFTP=22,FTP=21
"port": 21,

// SFTP/FTP 登录用户名
// ⚠️ 替换为你的 SSH/FTP 用户名
"username": "xxxx",

// SFTP/FTP 登录密码(敏感信息,不要提交到 Git!)
// 用 SSH 密钥免密登录时留空
// ⚠️ 替换为你的 SSH/FTP 密码
"password": "xxxx",

// 是否使用 SFTP 协议(true=SFTP,false=FTP),推荐 SFTP 更安全
"sftp": false,

// 服务器上 SourceMod 的根目录的父目录,所有上传文件会按本地目录结构镜像到此目录下
// L4D2 一般为:/your/l4d2/server/left4dead2/addons/sourcemod
"remoteRoot": "/your/l4d2/server/left4dead2/addons/sourcemod",

// 上传时需要排除的文件/目录(glob 模式)
// 排除掉源码、配置、文档等,避免把开发文件推上生产服务器
"exclude": [
"source/**/",
"include/**/",
"include-ext/**/",
".vscode/**/",
".github/**/",
".gitignore",
"*.md",
".git",
"compile.dat",
"*.exe",
"LICENSE",
]
},
// 创建新插件脚手架时使用的 GitHub 用户名(SourcePawn Studio 内部使用)
// ⚠️ 替换为你的 GitHub 用户名
"sourcepawn.GithubName": "xxxx",

// 新建插件时自动填入 myinfo.author 字段的作者名
// ⚠️ 替换为你的昵称
"sourcepawn.AuthorName": "xxxx",

// 是否禁用 SourcePawn 语言服务器的内置 Linter
// false = 启用检查(推荐,会高亮潜在问题);true = 关闭所有 Lint 告警
"SourcePawnLanguageServer.linter.disable": false,
}

编译插件

在source目录下创建你的源码文件夹如source/hello,在里面新建hello.sp源码文件,编写你的插件,如果不知道语法,可以使用以下示例代码进行测试:

1
2
3
4
5
6
7
8
9
10
11
12
13
14
15
16
17
18
19
#include <sourcemod>

// 插件的基础信息
public Plugin myinfo =
{
name = "My First Plugin",
author = "Me",
description = "My first plugin ever",
version = "1.0",
url = "http://www.sourcemod.net/"
};

// 服务器启动时会回调此函数
public void OnPluginStart()
{
// 在服务器控制台打印Hello world
PrintToServer("Hello world!");
}

在你的.sp源码文件中使用鼠标右键,选择compile file选项编译此插件源码,产出的.smx插件文件就会放在l4d2-plugin/plugins文件夹中。
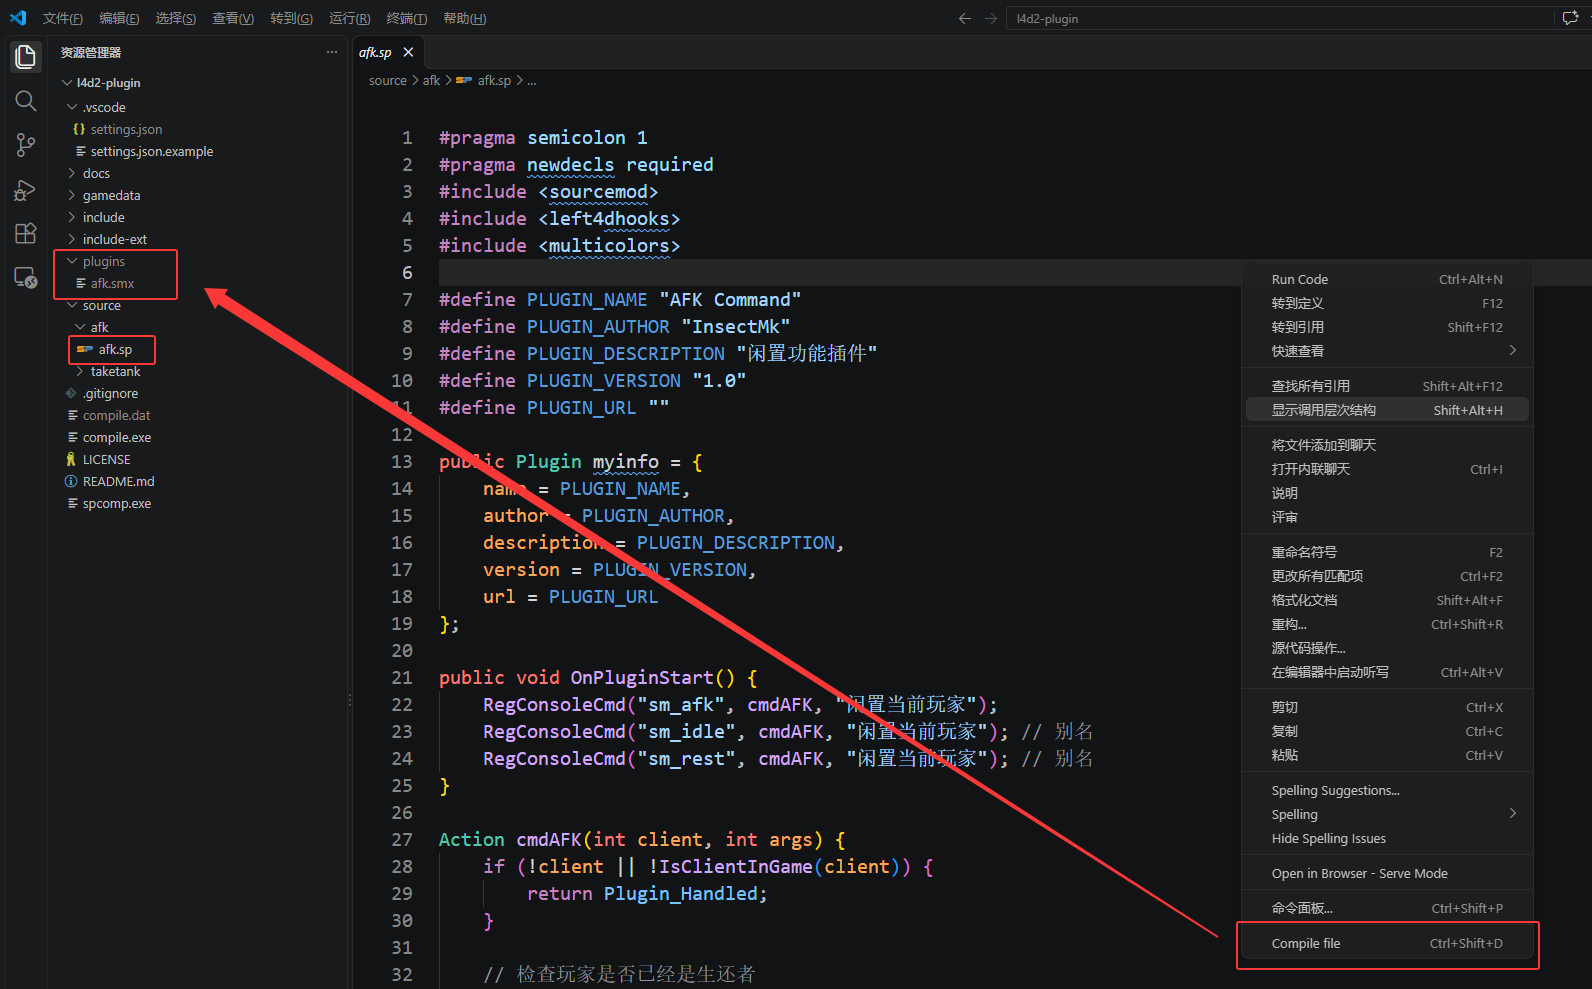
image-20261013172556400

到此,插件的编译环境就搭建好了。

参考文档

VSCode配置SourceMod编译方法